Looking for a creative, hands-on activity that’s perfect for kids and adults alike? DIY puffy paint is the ultimate home art project. With just a few pantry staples, you can whip up a batch of paint that puffs up in the microwave like magic. Whether you’re crafting with your kids or exploring a new way to express your creativity, this homemade puffy paint will add a fun, 3D touch to any art project.
Not only is it incredibly easy to make, but it’s also non-toxic and budget-friendly. This guide will walk you through everything you need to know to get started, including variations, tips for success, and even how to turn your art into lasting keepsakes.
Why You’ll Love DIY Puffy Paint
It’s Easy and Affordable
One of the best things about DIY puffy paint is how simple the ingredients are. You likely have everything in your kitchen already. Flour, salt, baking powder, and water form the base, and with a little food coloring, you can create a whole rainbow of vibrant puffy paints.
There’s no need for expensive store-bought paints. Plus, the process is fast — mix it up in minutes and you’re ready to paint. If you’re short on time or money, this craft has you covered.
It’s a Sensory Experience for Kids
Children love the texture and transformation of puffy paint. From squeezing the mixture out of a bottle to watching it puff up in the microwave, every step is packed with sensory fun. It’s an excellent project for developing fine motor skills and encouraging creativity.
You can even turn it into a mini science lesson by talking about how baking powder helps the paint rise, just like in baked goods.
")
How to Make DIY Puffy Paint
Ingredients
To make your own batch of homemade puffy paint, gather the following simple ingredients:
- 1 cup all-purpose flour
- 1 cup table salt
- 1 cup water
- 2 tablespoons baking powder
- Food coloring (various colors)
- Thick paper, cardstock, or cardboard (for painting)
- Optional: squeeze bottles or zip-lock bags for application
These pantry-friendly ingredients combine to create a thick, smooth paste that transforms into puffy artwork after just 30 seconds in the microwave.
Directions
Follow these steps for the perfect DIY puffy paint every time:
- Combine Dry Ingredients
In a medium mixing bowl, whisk together 1 cup of flour and 1 cup of salt. Add in 2 tablespoons of baking powder and mix until evenly combined. - Add Water Slowly
Pour in 1 cup of water gradually, stirring constantly to prevent clumps. Keep mixing until the batter reaches a thick, paste-like consistency. - Divide and Color
Separate the mixture into small containers (one for each color you want). Add a few drops of food coloring to each, stirring until the color is uniform. - Prepare for Painting
Transfer each color into squeeze bottles or zip-lock bags with a small hole snipped in one corner. You can also use paintbrushes or cotton swabs for application. - Create Your Art
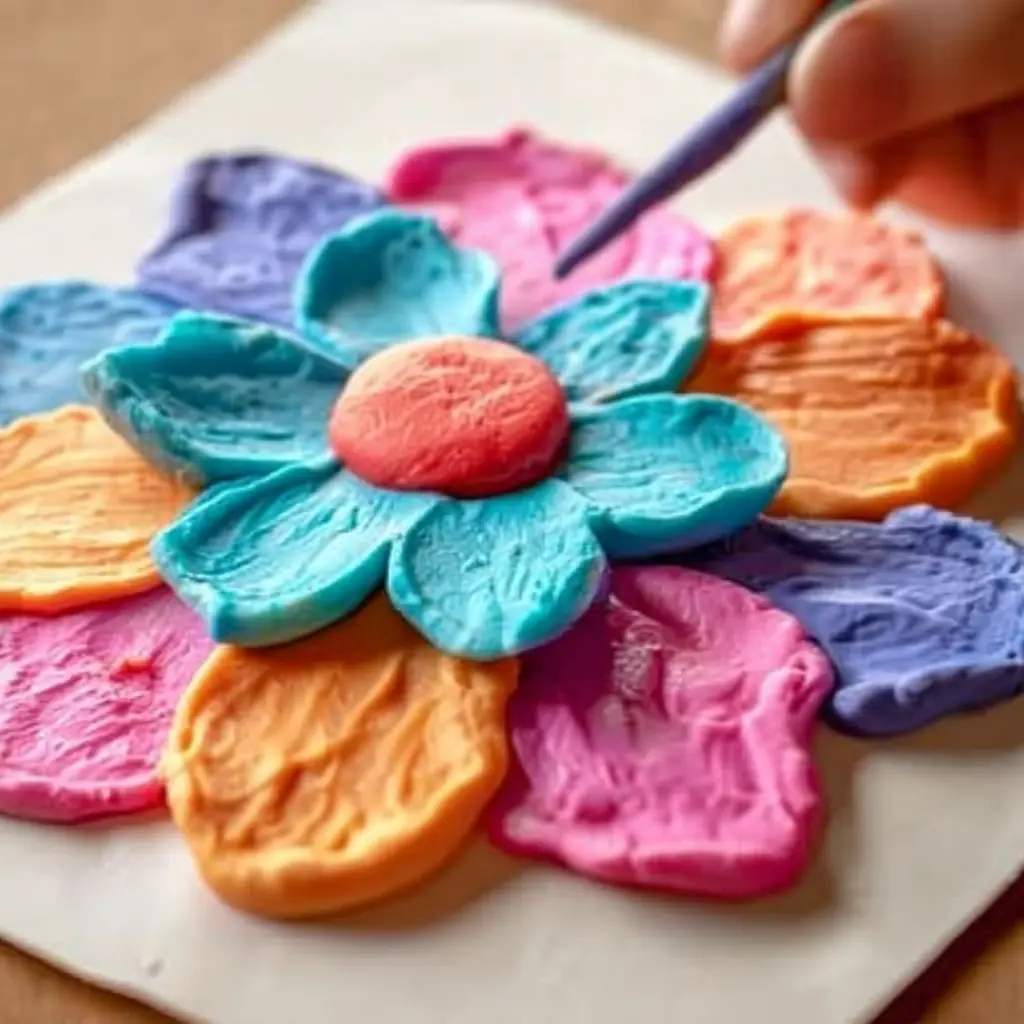
Paint on thick paper, cardstock, or cardboard. Avoid thin paper as it may warp or tear from the moisture. - Watch It Puff Up
Place the finished artwork in the microwave and heat on high for 30 seconds to 1 minute. The paint will rise and harden, creating a puffy, textured look. Alternatively, let the artwork air dry over several hours.
Tips, Tricks, and Creative Ideas
")
Custom Colors and Glitter Fun
For extra sparkle, mix in a little glitter with the food coloring. You can also experiment with gel-based food colors for more intense hues. Try blending colors to teach kids about color mixing while crafting.
Another fun idea? Add a drop of vanilla or peppermint extract to each container for scented puffy paint. Kids love painting with colors that smell like cookies or candy canes!
Storage and Longevity
DIY puffy paint is best used fresh, but it can be stored in airtight containers for up to 24 hours. If the mixture thickens, simply stir in a few drops of water until smooth again.
Once dried (especially if microwaved), the artwork will stay puffy and intact for display. These creations make great greeting cards, wall art, or personalized gift tags. Just be sure to keep them away from moisture, which can soften the paint again.
Print
Make Your Own DIY Puffy Paint: A Fun and Creative Craft for All Ages
- Total Time: 11 minutes
- Yield: Enough for 2–4 children (depending on project size)
Description
Easy and fun DIY puffy paint made from household ingredients. Perfect for kids’ crafts, school projects, or creative afternoons at home. Microwavable for instant puff!
Ingredients
1 cup all-purpose flour
1 cup table salt
1 cup water
2 tablespoons baking powder
Food coloring (various colors)
Thick paper, cardstock, or cardboard
Optional: squeeze bottles or zip-lock bags
Instructions
In a medium bowl, mix together flour, salt, and baking powder.
Slowly stir in water until you achieve a thick, paste-like consistency.
Divide the mixture into separate containers for different colors.
Add a few drops of food coloring to each container and mix well.
Transfer to squeeze bottles, zip-lock bags, or use paintbrushes to apply.
Paint onto thick paper or cardboard.
Microwave the artwork for 30 seconds to 1 minute to puff the paint.
Alternatively, allow the artwork to air dry.
Notes
Use thick paper to prevent warping. Add glitter or scented extracts for a fun twist. Store leftover paint in airtight containers for up to 24 hours.
- Prep Time: 10 minutes
- Cook Time: 1 minute
- Category: Craft
- Method: Microwave
- Cuisine: N/A